Gluten Free Date Squares Recipe
Even if you haven’t got a hot date, there’s no wrong time to make delicious date squares!
This recipe is not too difficult, and is an unexpected but welcome addition to any party. Your friends (or enemies) will definitely be impressed if you walk in with this!
Without further ado, here is how I make my gluten-free date squares from scratch!

The Recipe
Time allotment
Prep Time: 20 minutes
Cooking time: 1 hour
Total Time: 1 hour 20 minutes
Yield: 16 date squares (1.5 inches x 1.5 inches)
Cooking Utensils
Saucepan
Spatula
Heat-resistant spoon or stirring utensil
Upright mixer - OR - handheld mixer - OR - whisk
Measuring cups
Measuring spoons
Oven
Square oven-safe baking dish
Ingredients
the “crisp” layer
3/4 cups (115g) baking flour
I used Irresistible All Purpose Flour - Gluten Free
1/4 cup (40g) almond flour
I used Kirkland Almond Flour
1 3/4 cups (265g) steel cut oats
I used Bob’s Red Mill Quick Cooking Steel Cut Oats
3/4 cup (160g) Demerara sugar - OR - brown sugar
I find Demerara sugar makes it have a more rich taste
1/2 tsp xanthan gum
1/4 tsp baking powder
1/2 tsp salt
I prefer to use Himalayan pink salt, but ordinary salt will do in a pinch
3/4 cup (170g) salted butter (room temperature or softened)
the “Date” Layer
2 cups (350 g) medjool dates (no pits)
2 tbsp Demerara sugar - OR - brown sugar
1 tbsp vanilla extract
2 tbsp lemon juice
1/2 tsp baking soda
1 cup (250g) boiled water
This will be used for “melting” the dates
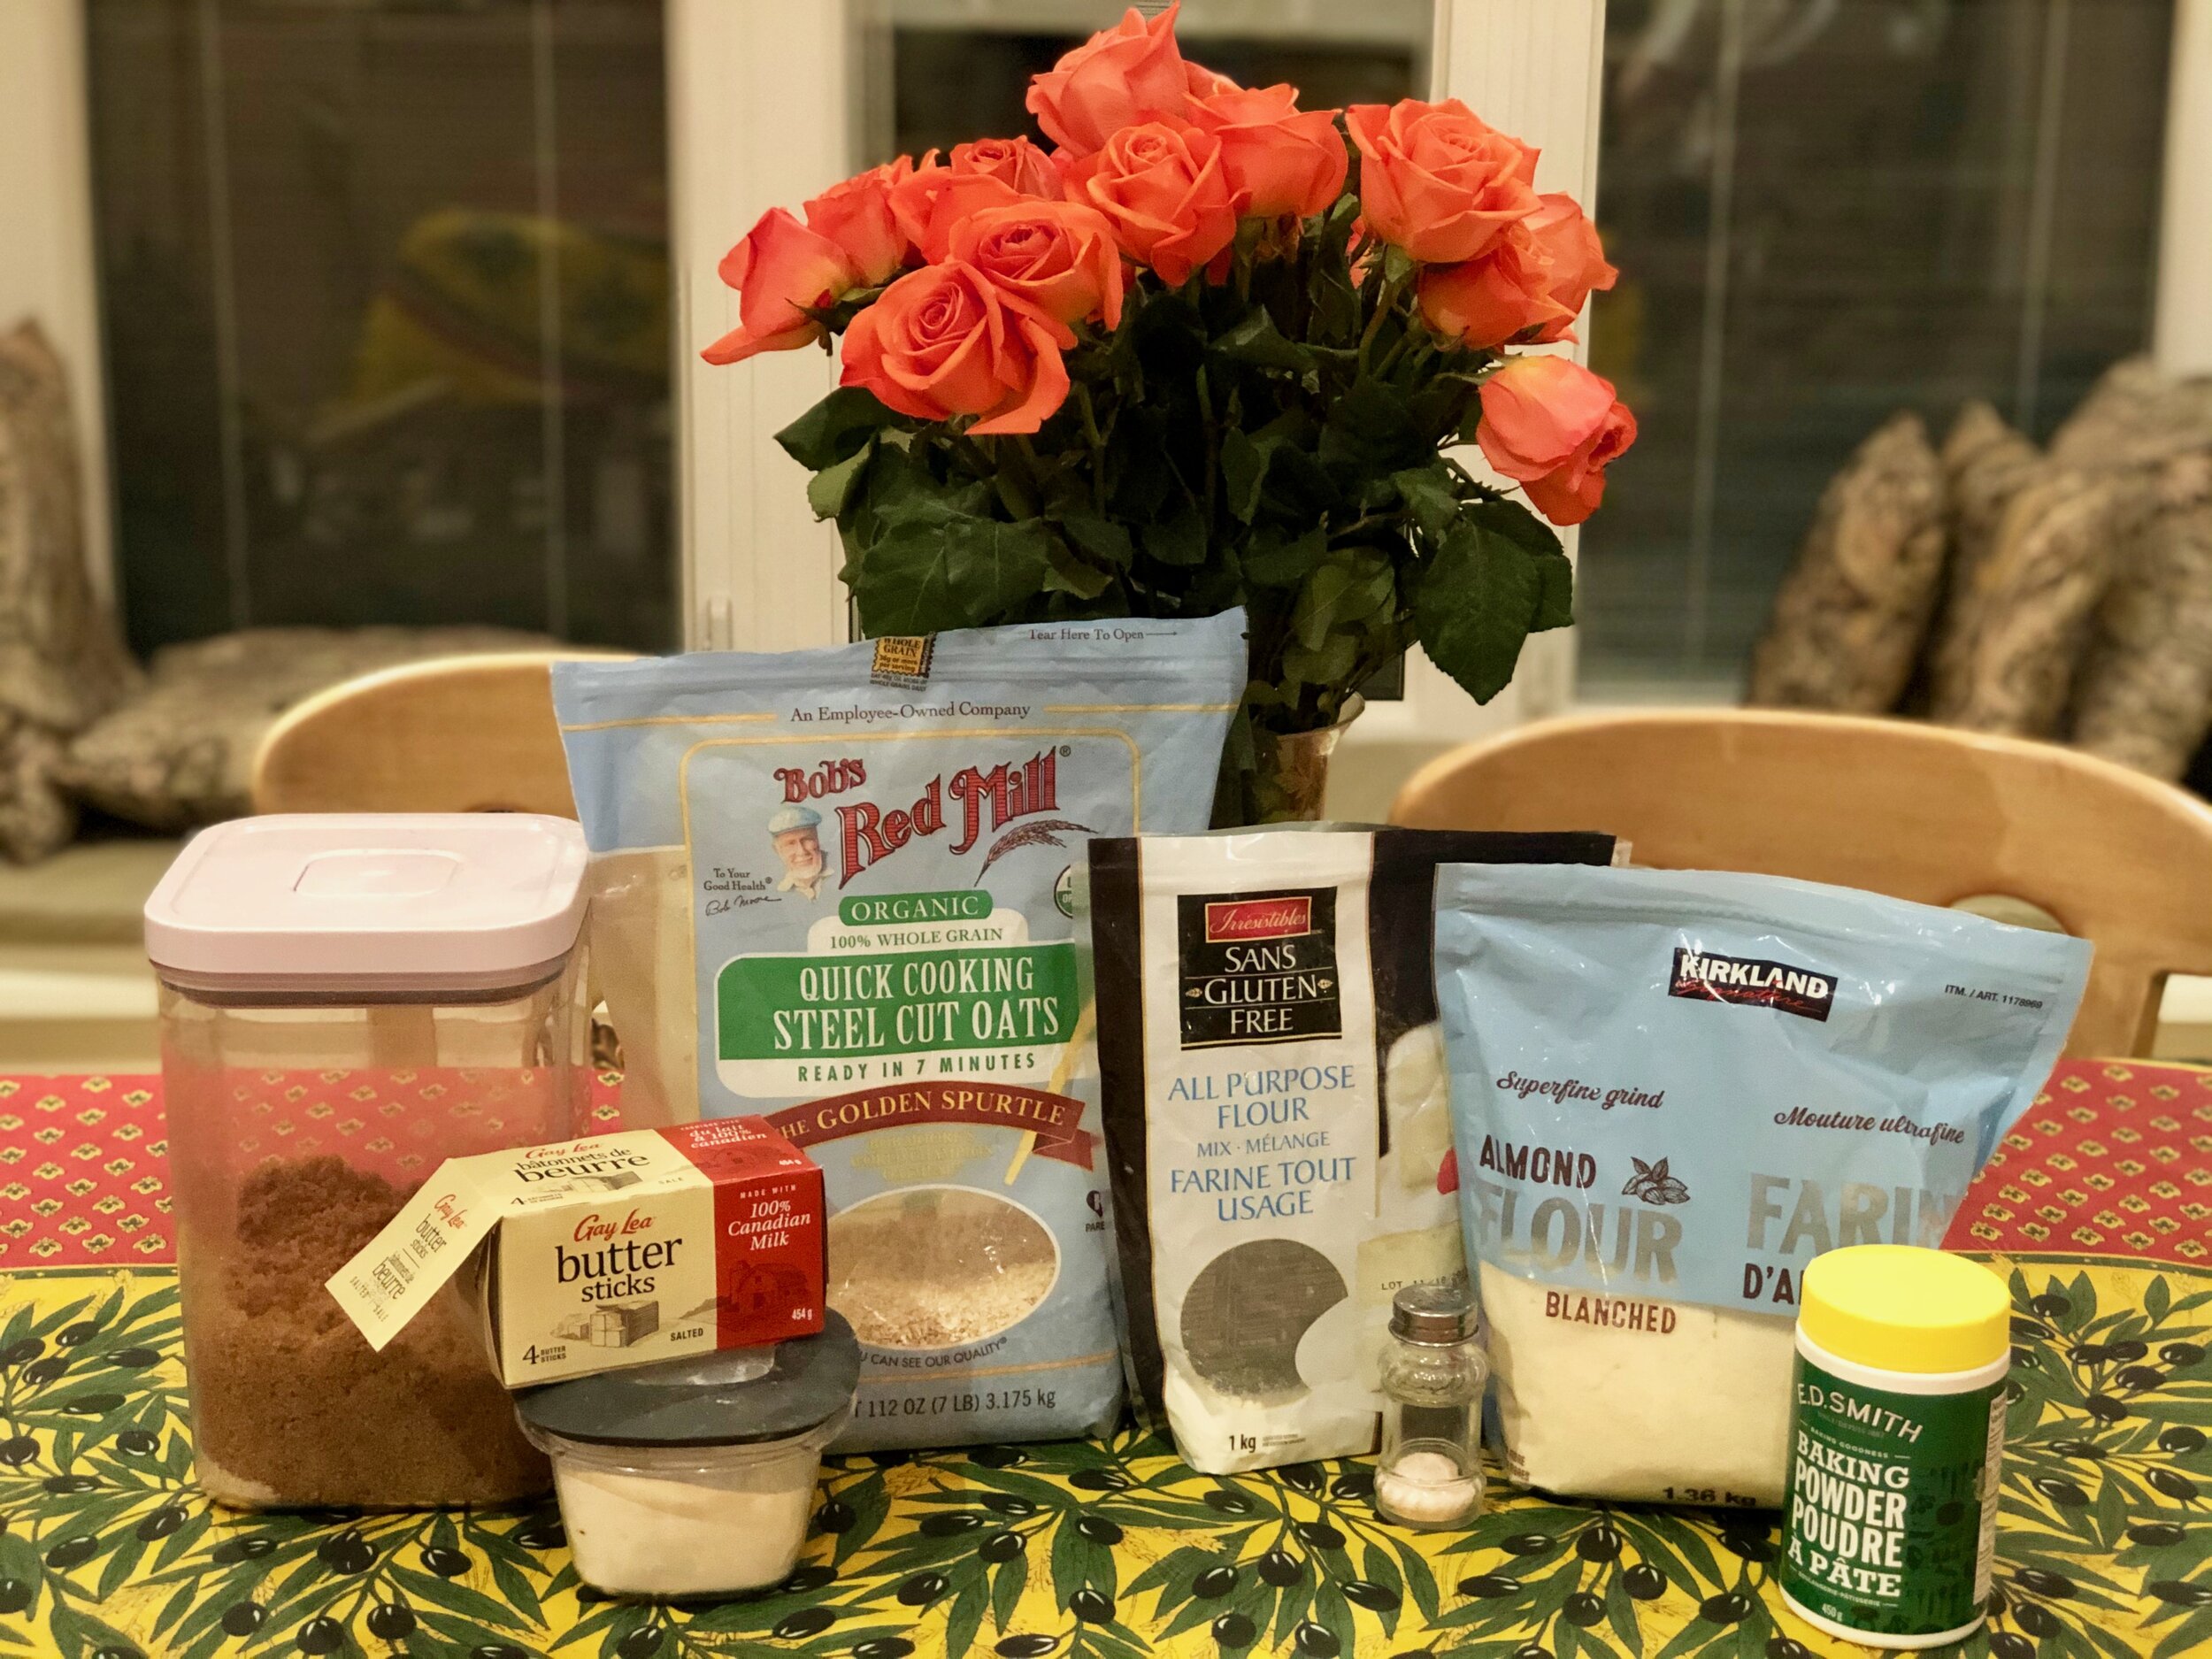
The “Crisp” layer ingredients

The “Date” layer ingredients
Instructions
the “Date” Layer
Preheat the oven to 350°F / 180°C
In a saucepan, bring 1 cup (250g) of water to a boil
To the boiling water, add 2 cups (350 g) medjool dates, 2 tbsp lemon juice, 2 tbsp Demerara (or brown) sugar
Let it boil for about 1 minute, then bring to a simmer
To the simmering water, add 1 tsp baking soda, 1 tbsp vanilla extract
Let the mixture simmer until the dates melt completely (it should take 4-6 minutes)
Once all melted, allow the mixture to cool for 2-3 minutes
the “crisp” layer
In a standing mixer (or large bowl if you are using a hand-mixer / whisk), add in 3/4 cups (115g) gluten free baking flour, 1/4 cup (40g) almond flour, 1 3/4 cups (265g) steel cut oats, 3/4 cup (160g) Demerara sugar (or brown sugar), 1/2 tsp xanthan gum, 1/4 tsp baking powder, 1/2 tsp salt,
Mix together until just blended
Add in softened or room temperature 3/4 cup (170g) salted butter
Mix together until properly blended
Construction
Butter (or use cooking spray) the sides of a square oven-safe Baking Pan
Divide the “Crisp” layer into two halves
In the Baking Pan, put in half of the crisp mixture, and make sure it is compact
To make it compact, roll small, tight balls of it in your hands, and then press it down in the Baking Pan or:
Put a big circle of the crisp dough into the middle of the pan, and press it down with a square object (I used a box of crackers)
Using a spoon, evenly spread the “Date” layer on top of the “Crisp” layer
Using your hands, sprinkle the remaining “Crisp” mixture over the “Date” layer
Put the date squares into the oven for 45-50 minutes
Top will be slightly golden when done
Take it out, and enjoy!

“Date” Layer
“Crisp” Layer
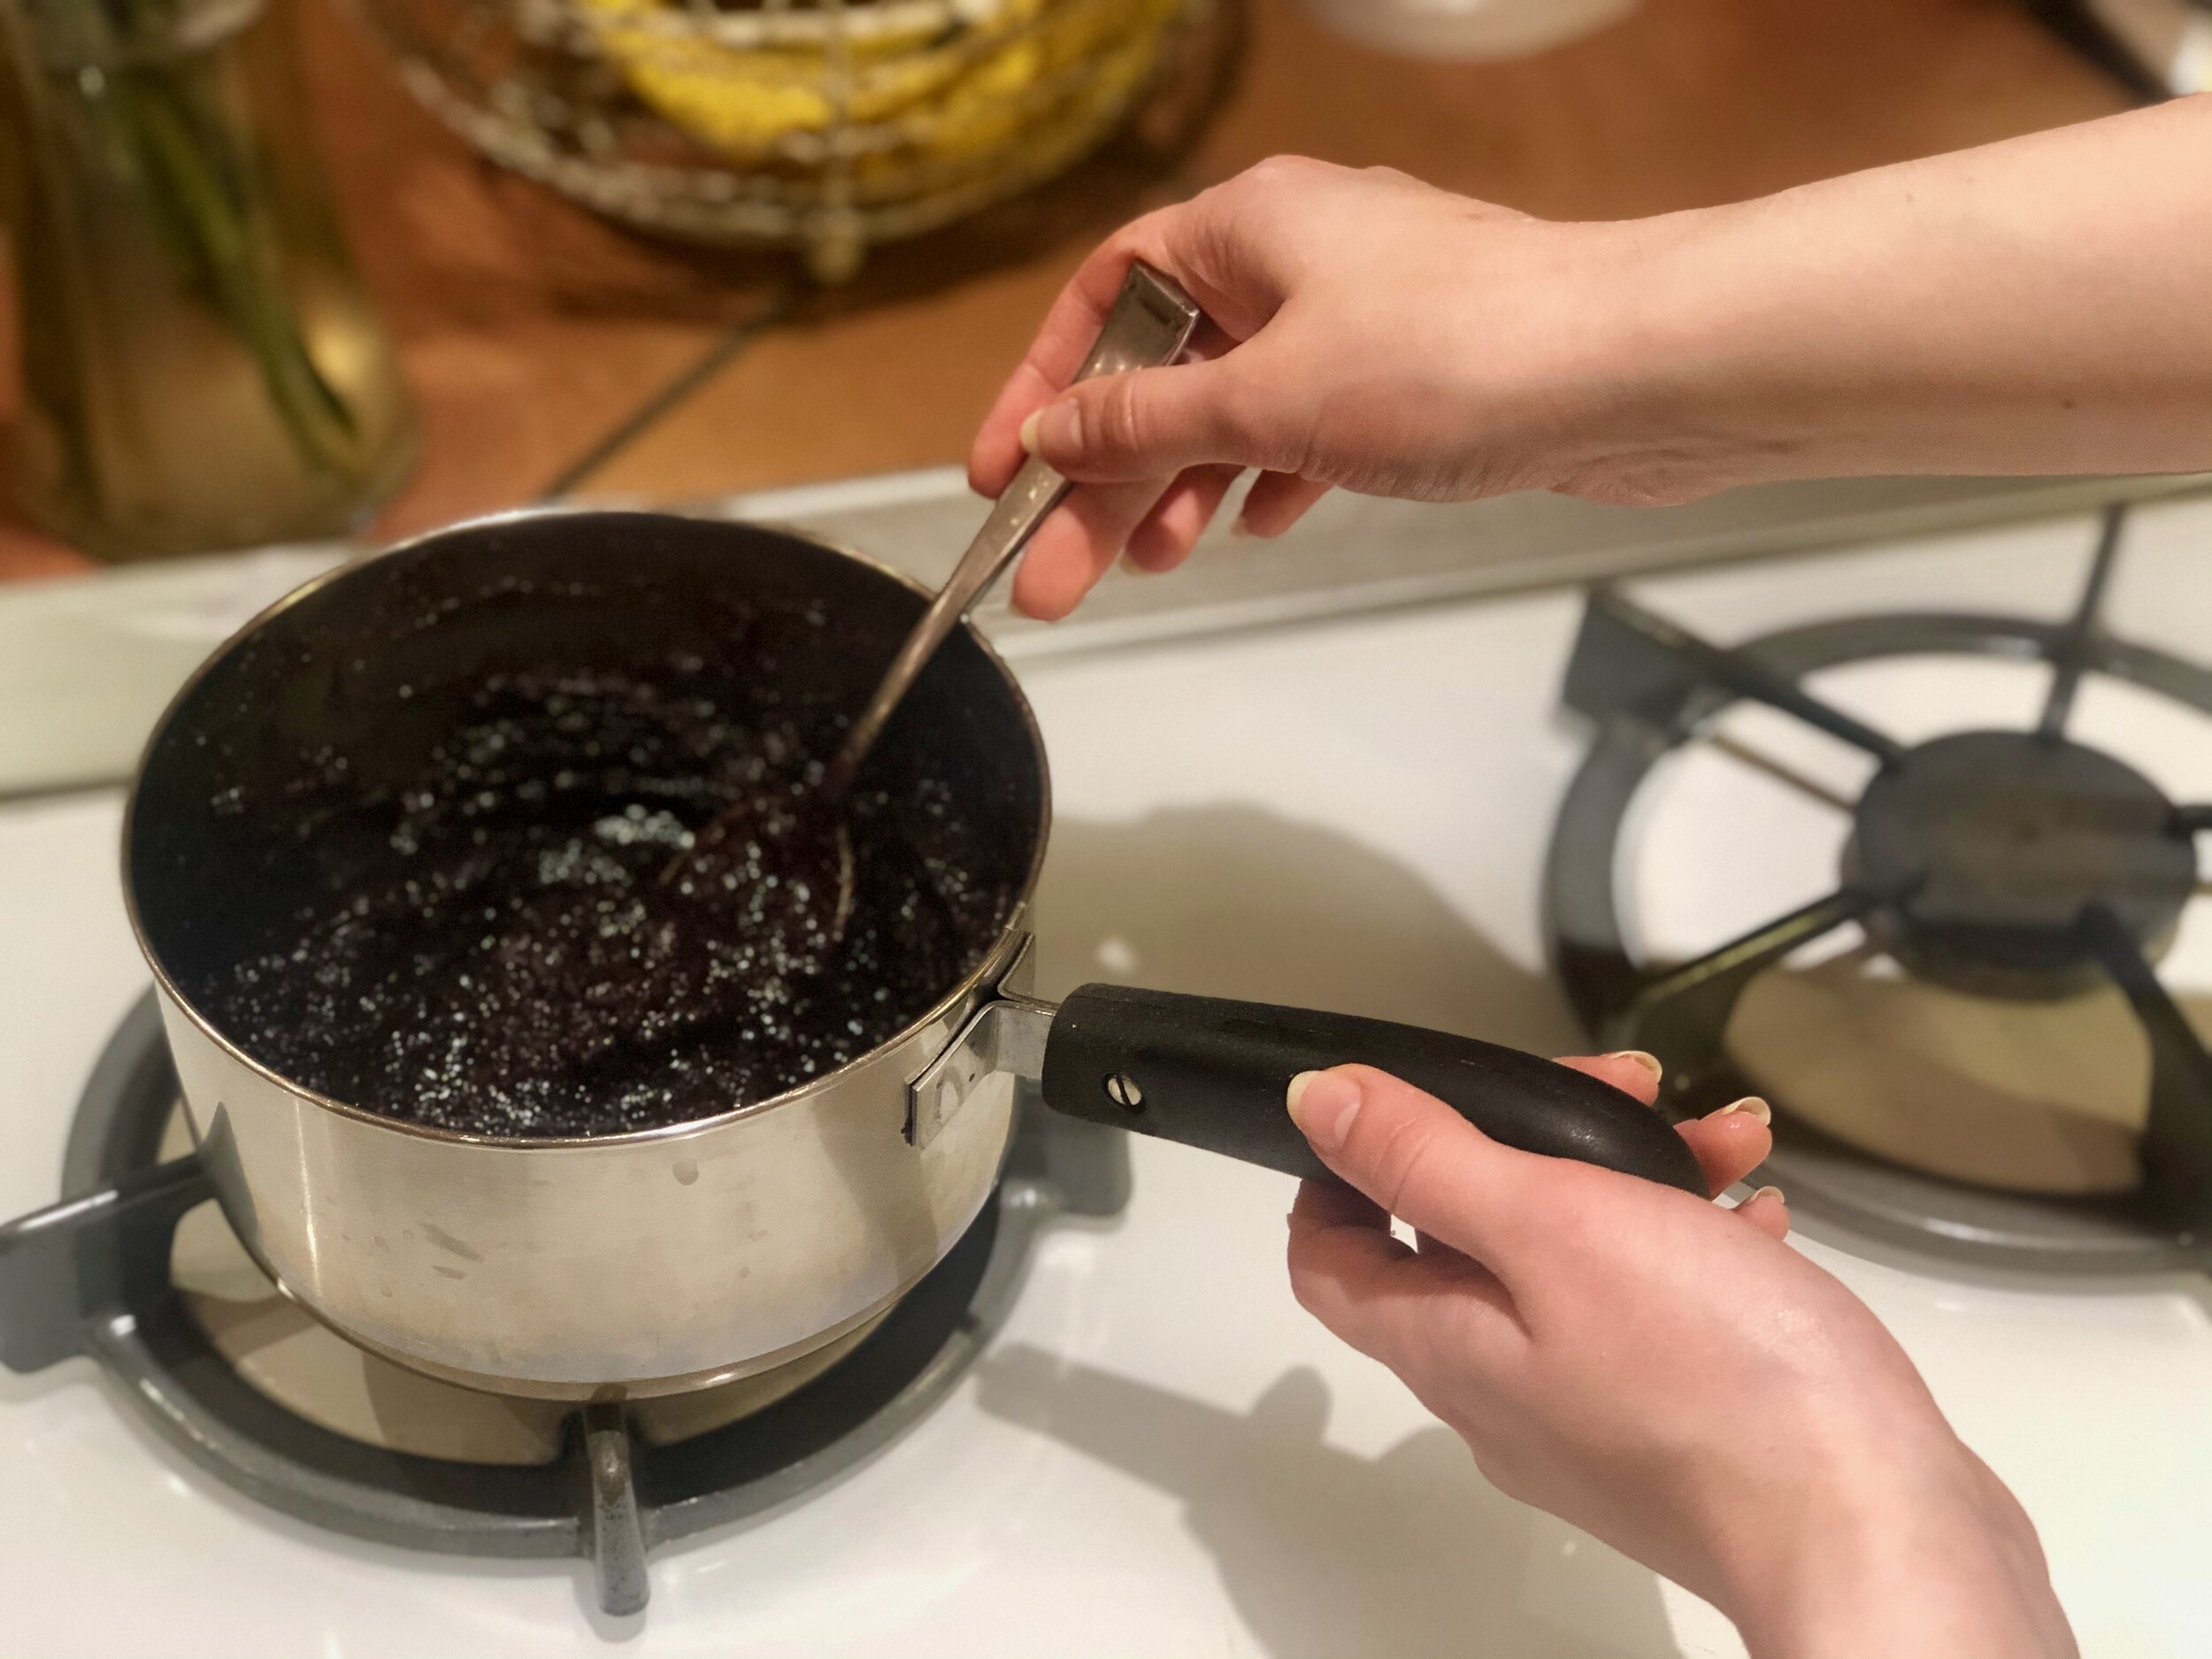
Making sure the medjool dates melt completely in the saucepan

Sprinkling the “Crisp” mixture over the date layer
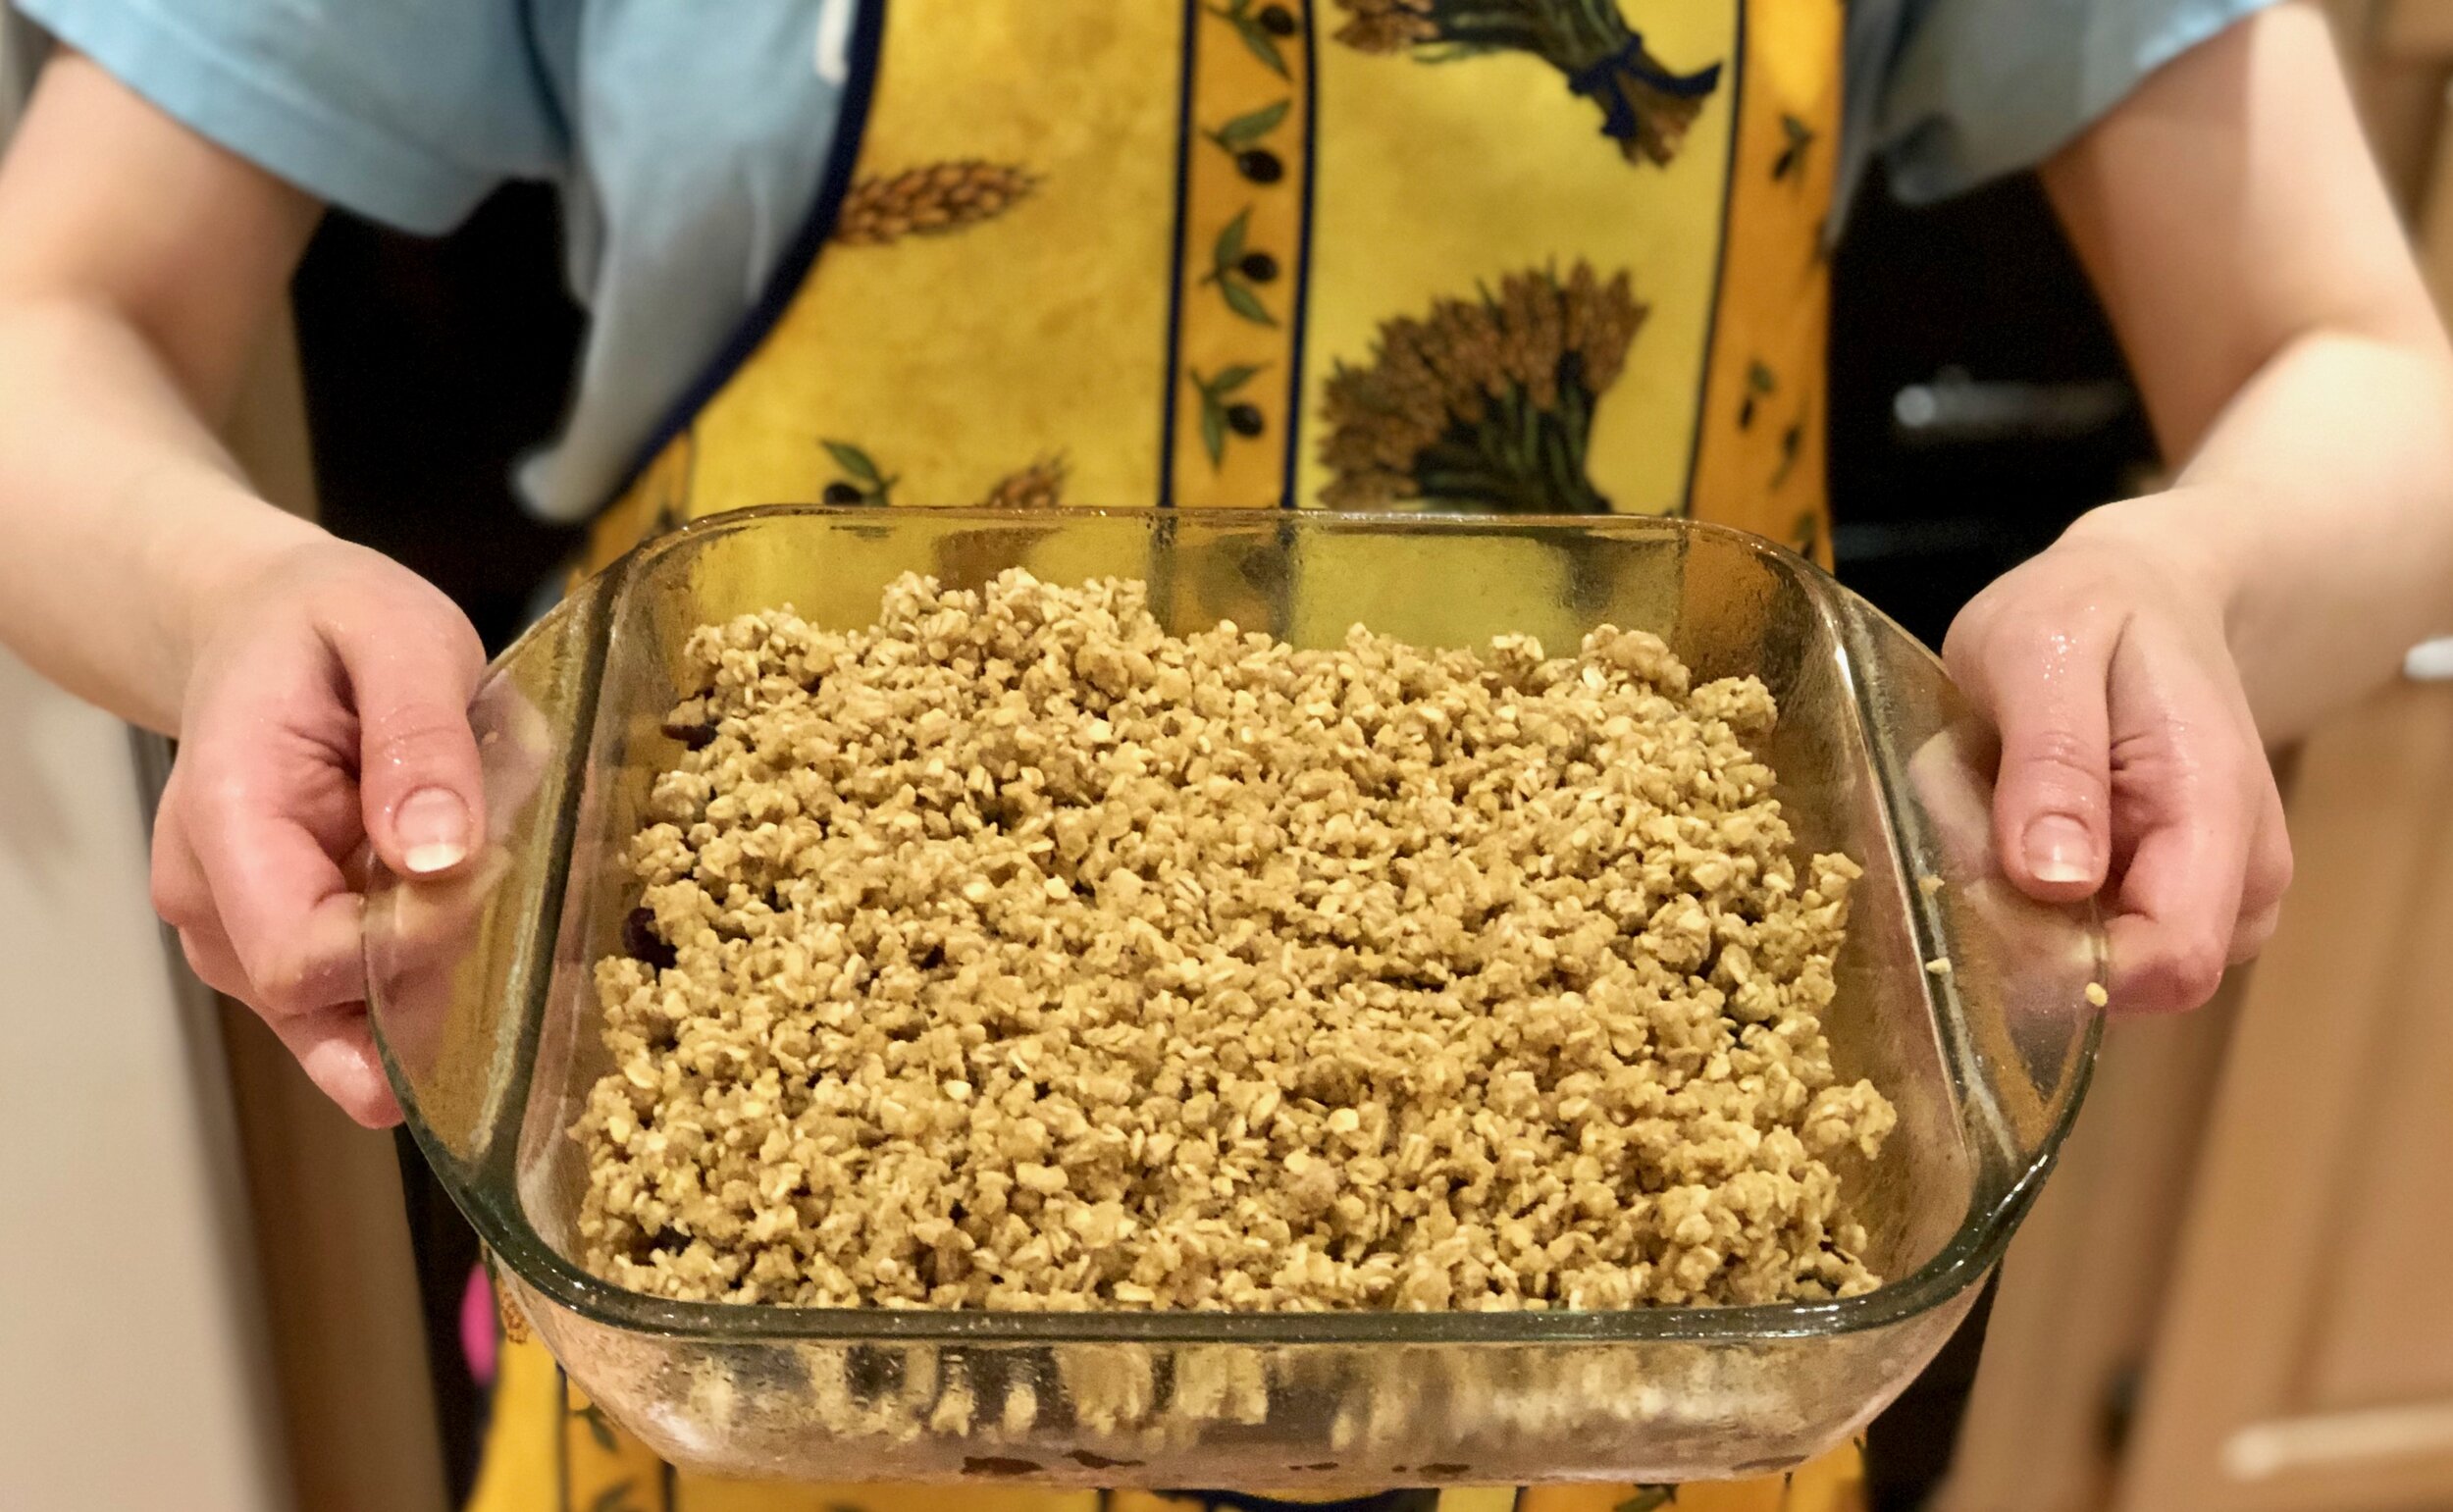
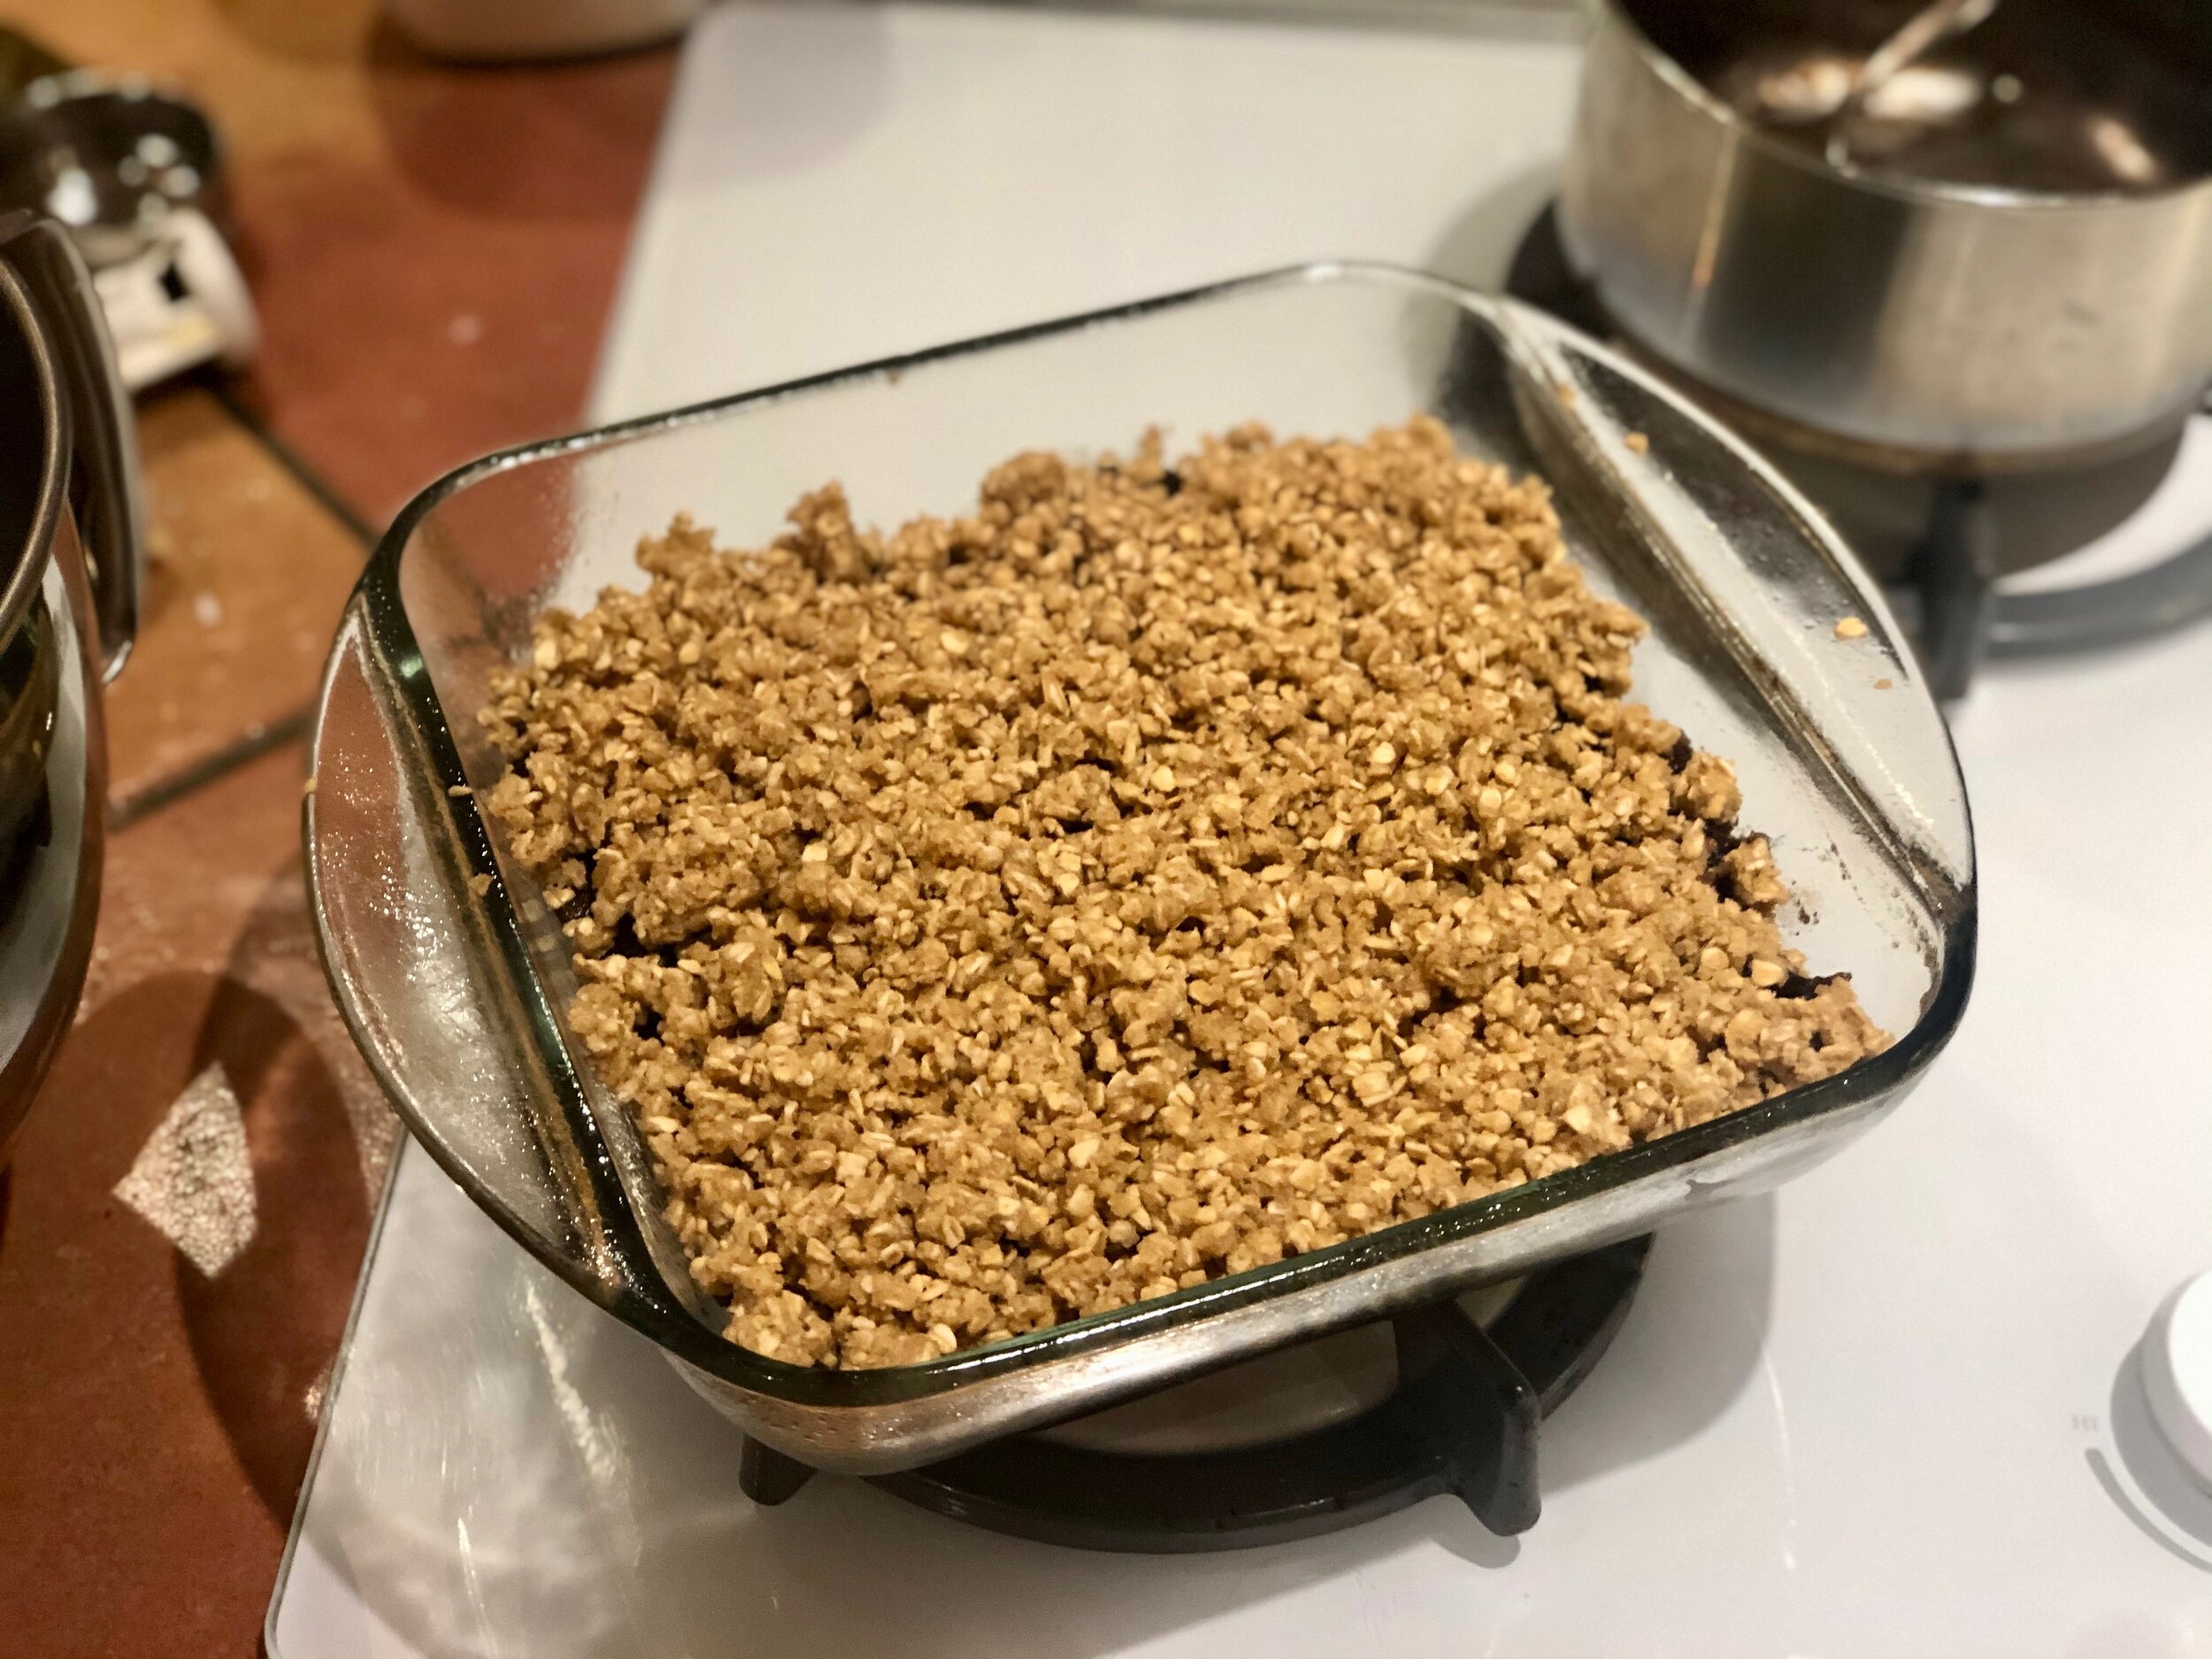
The mixture before it is put into the oven!
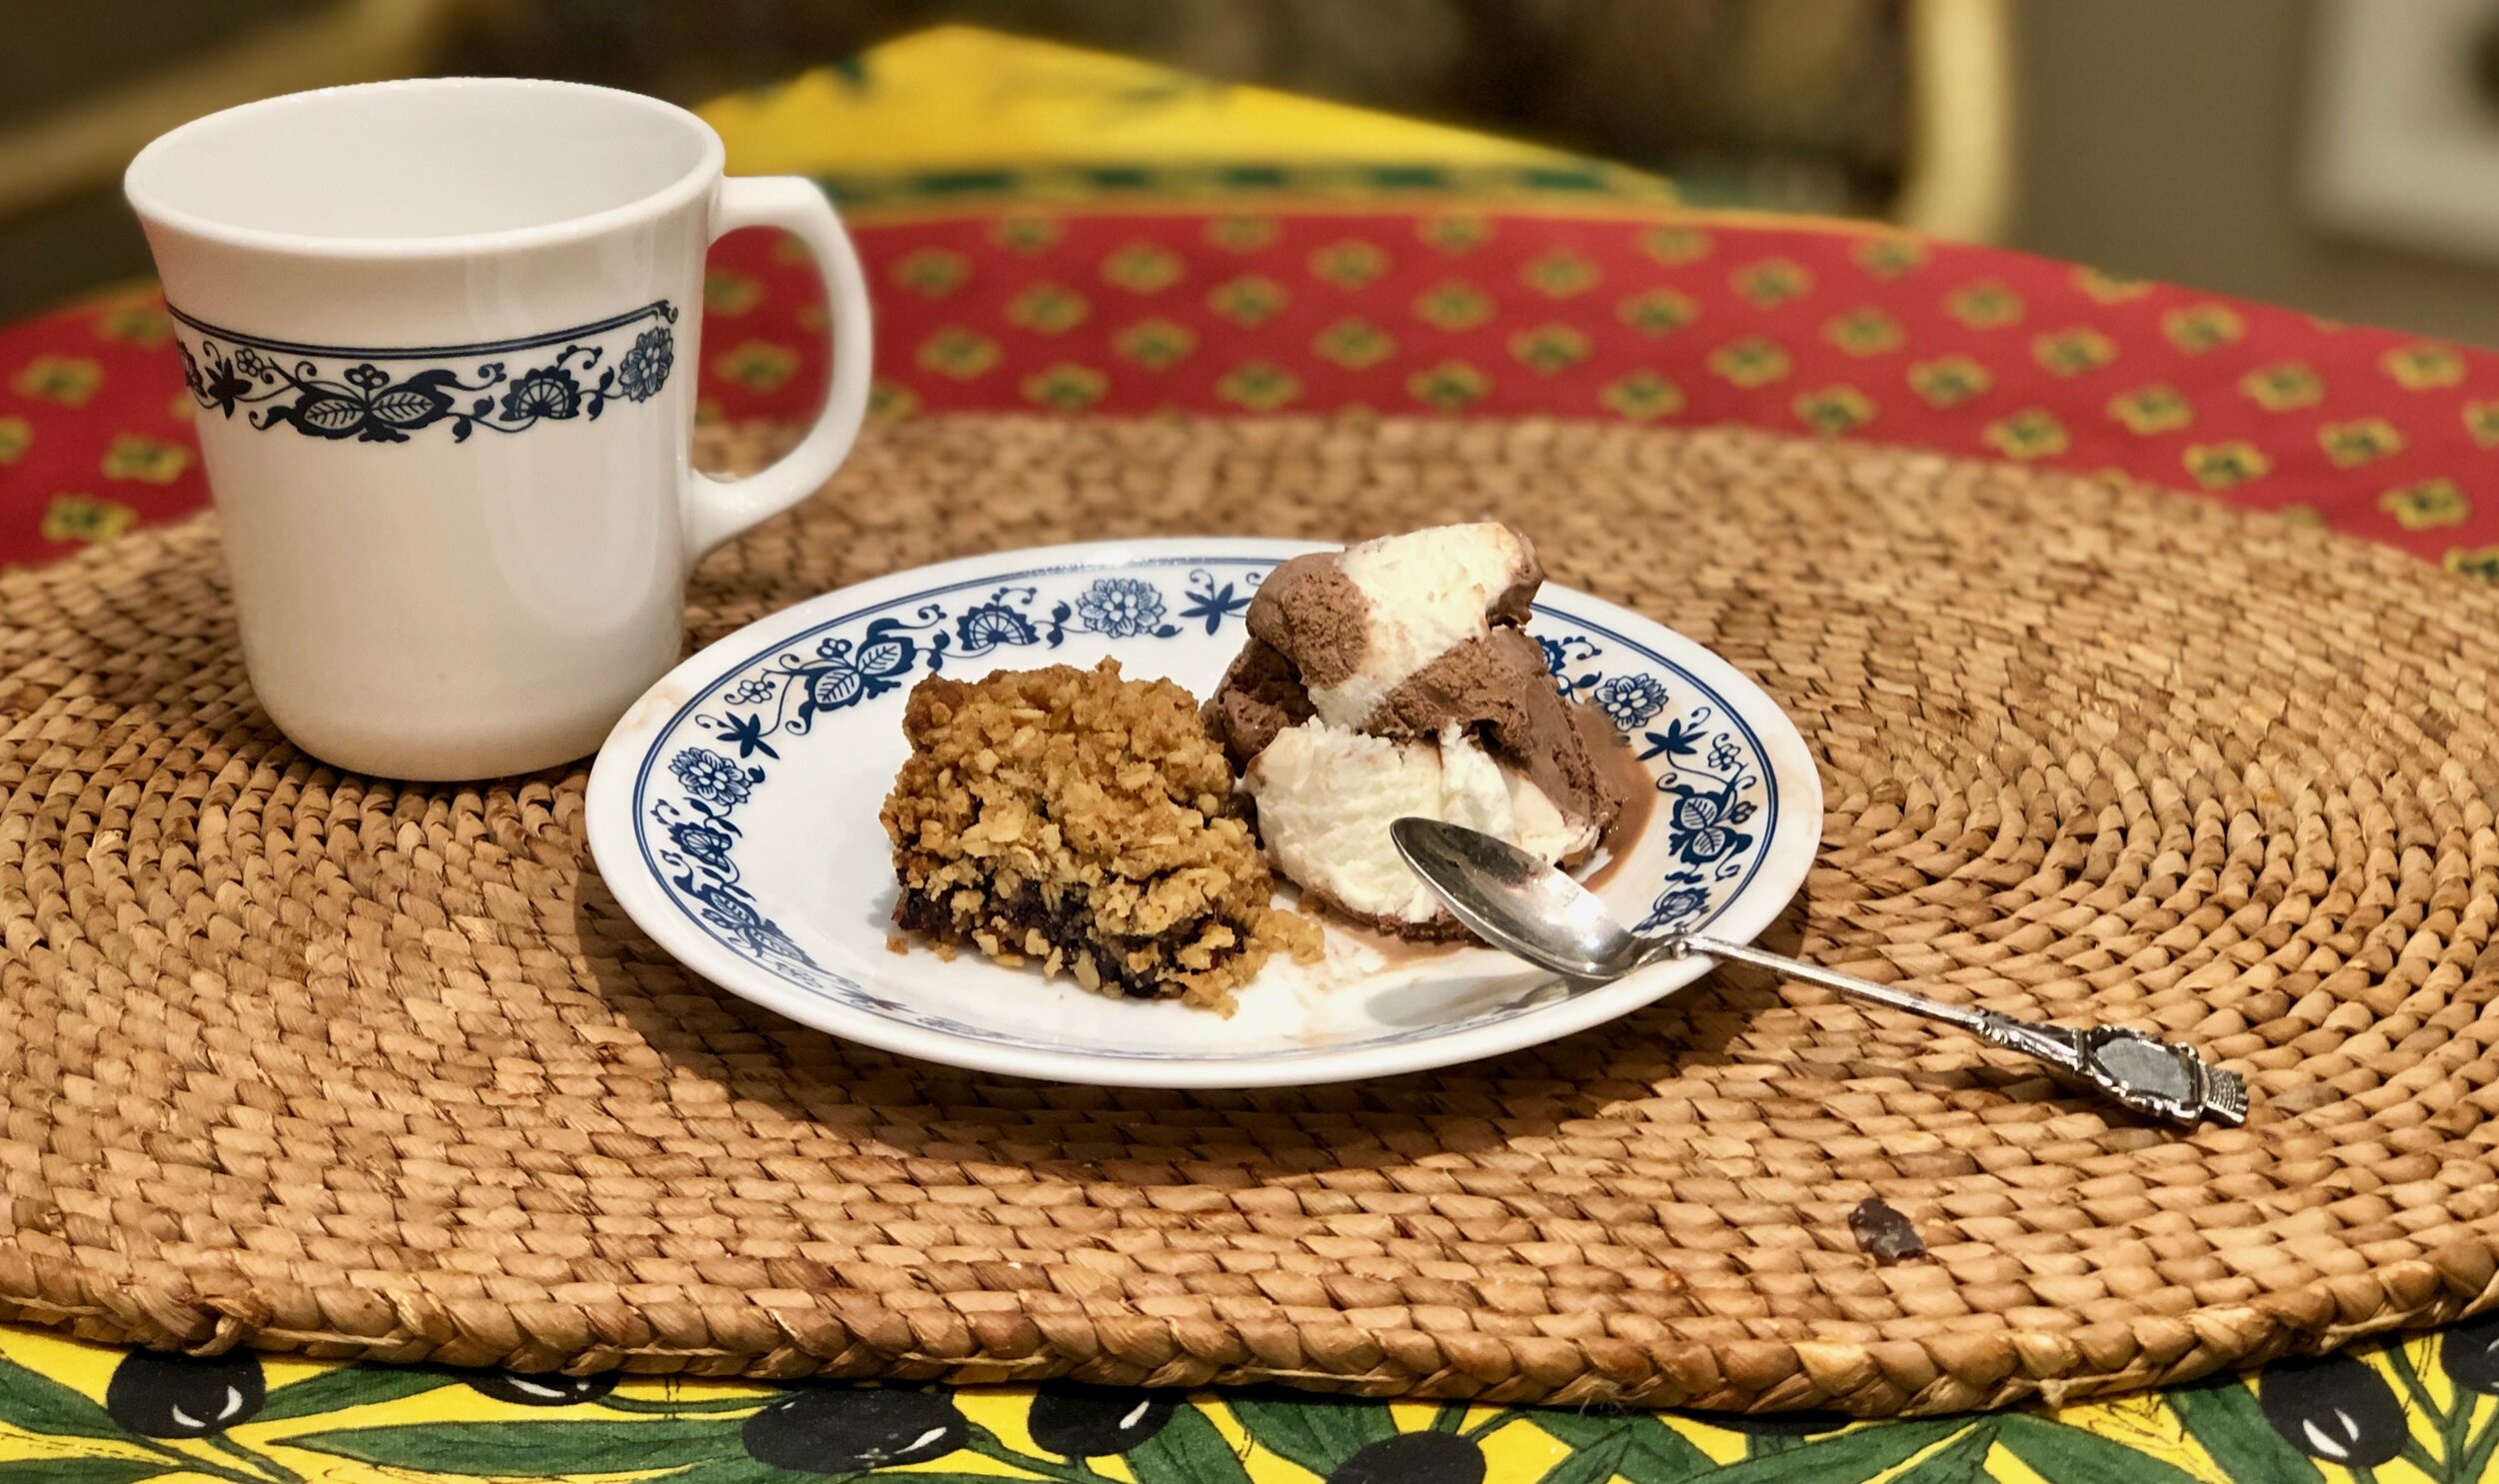
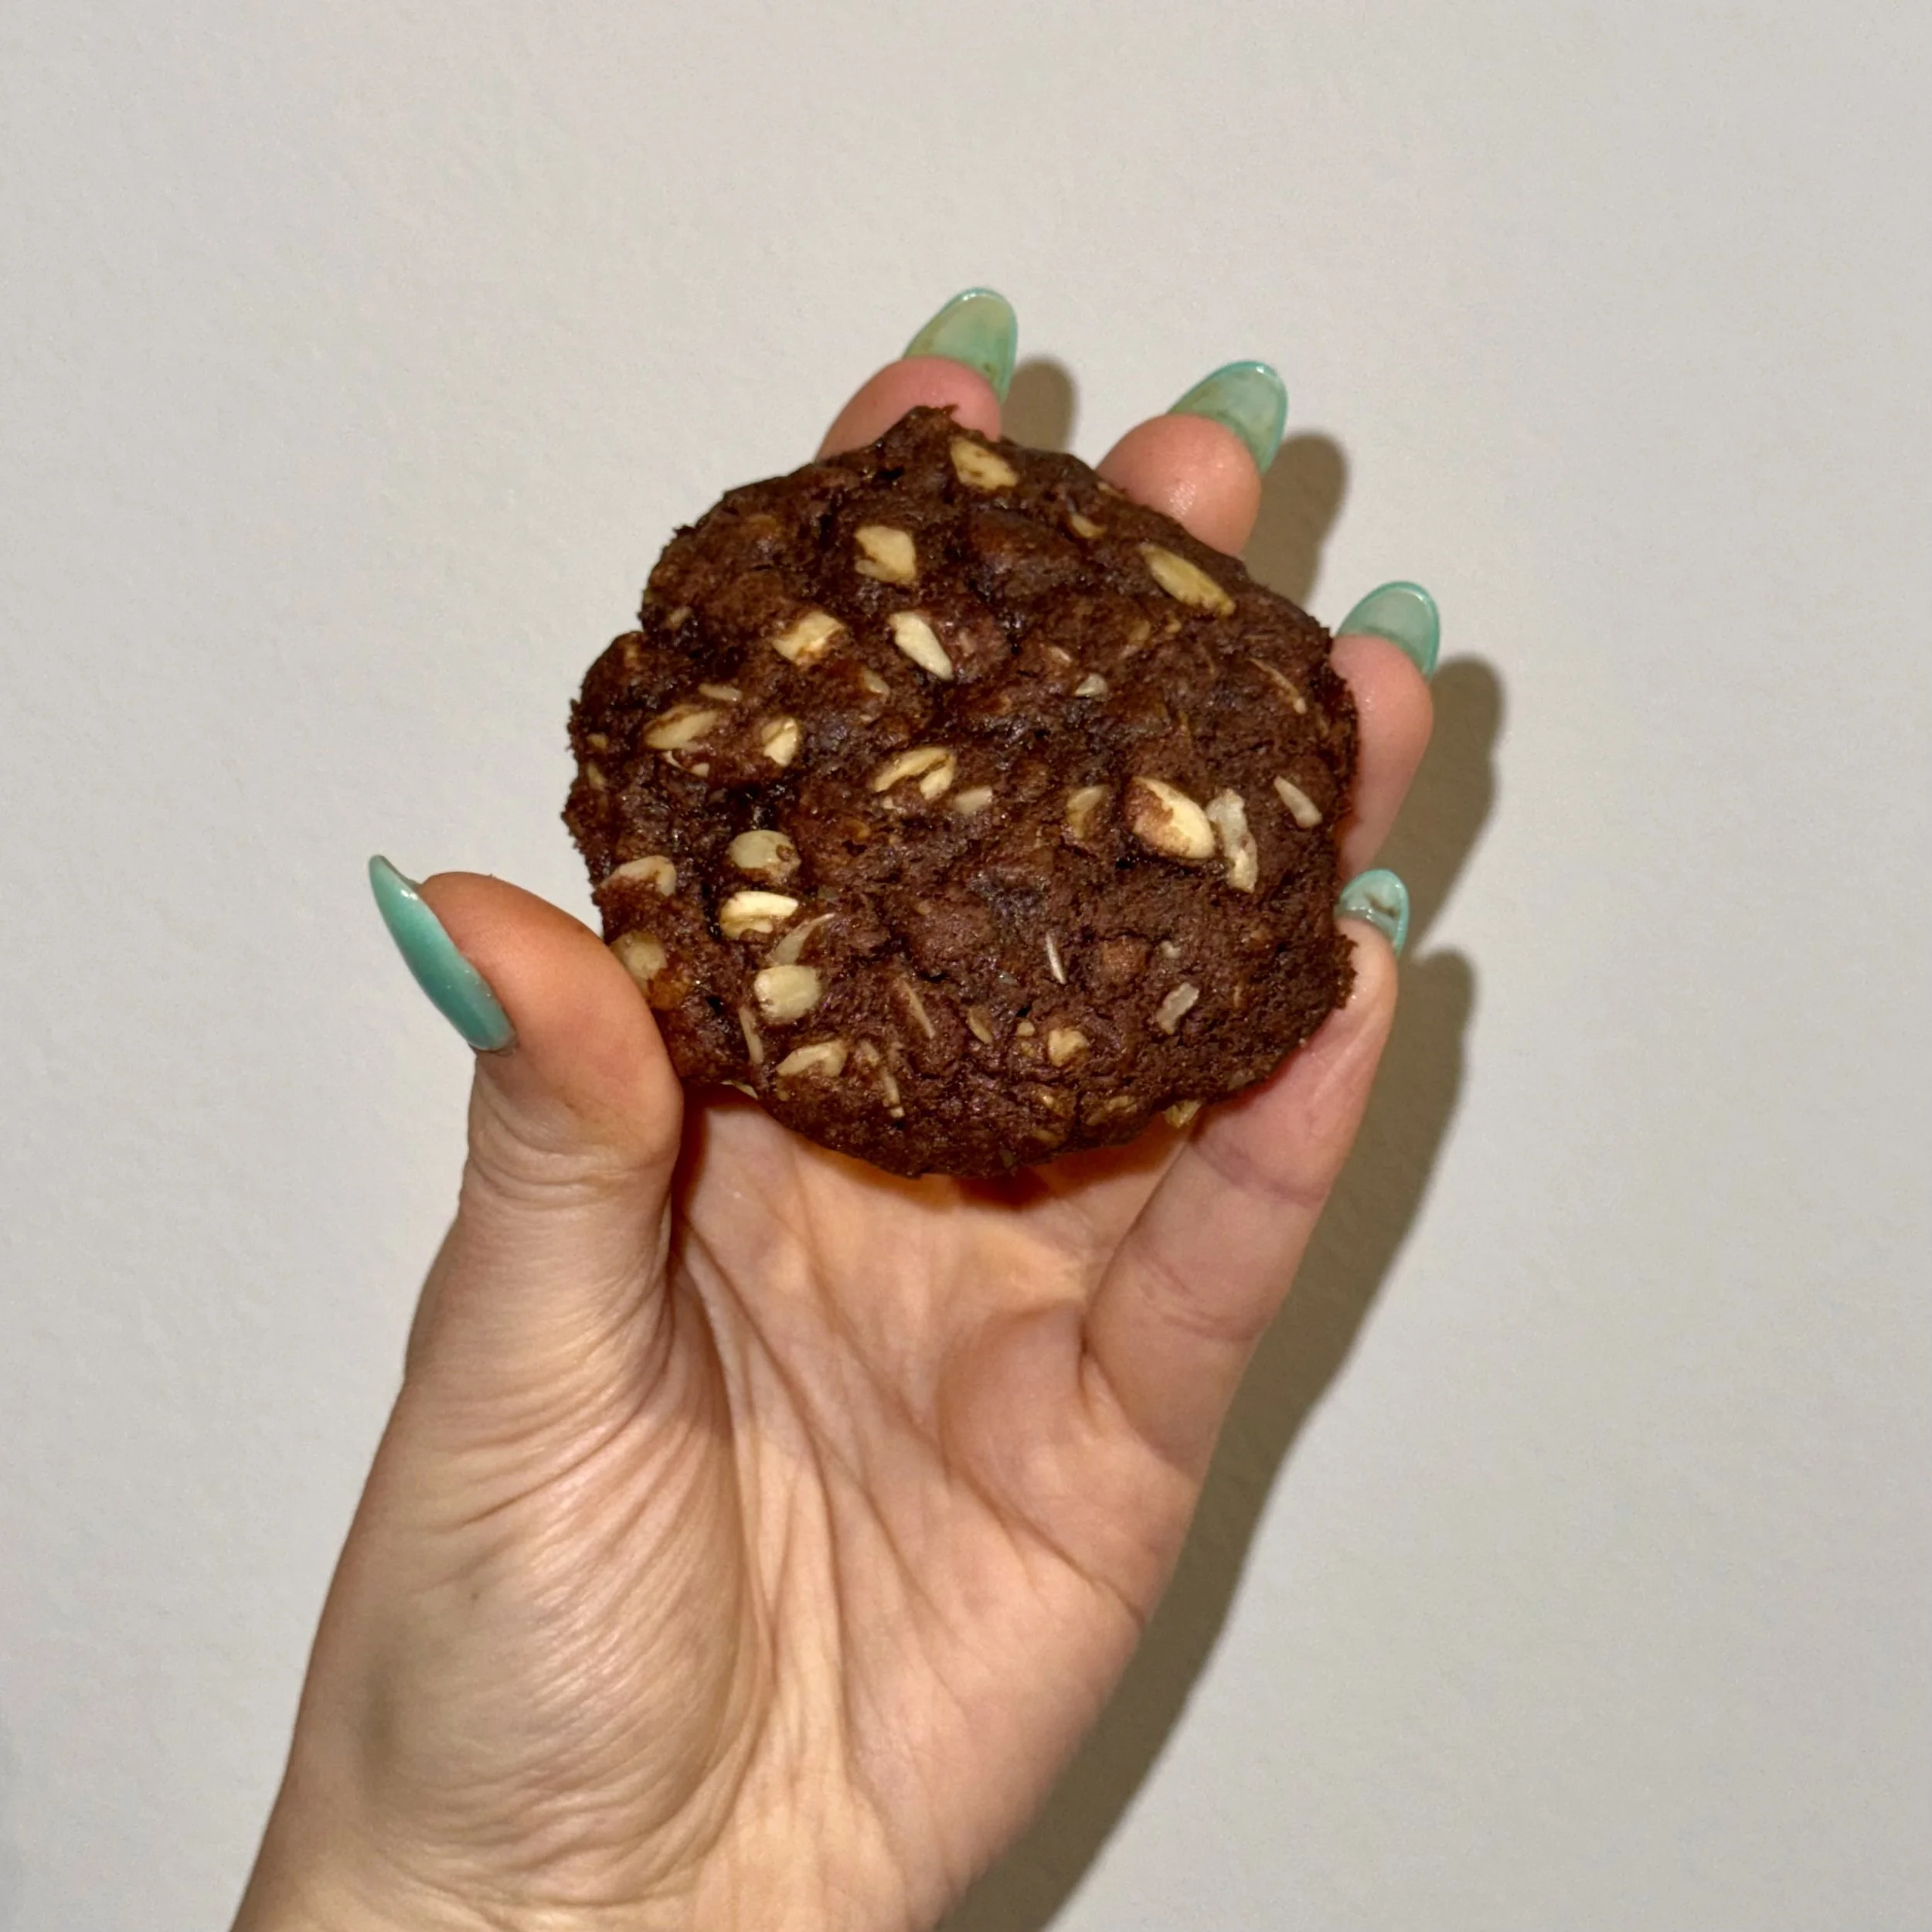
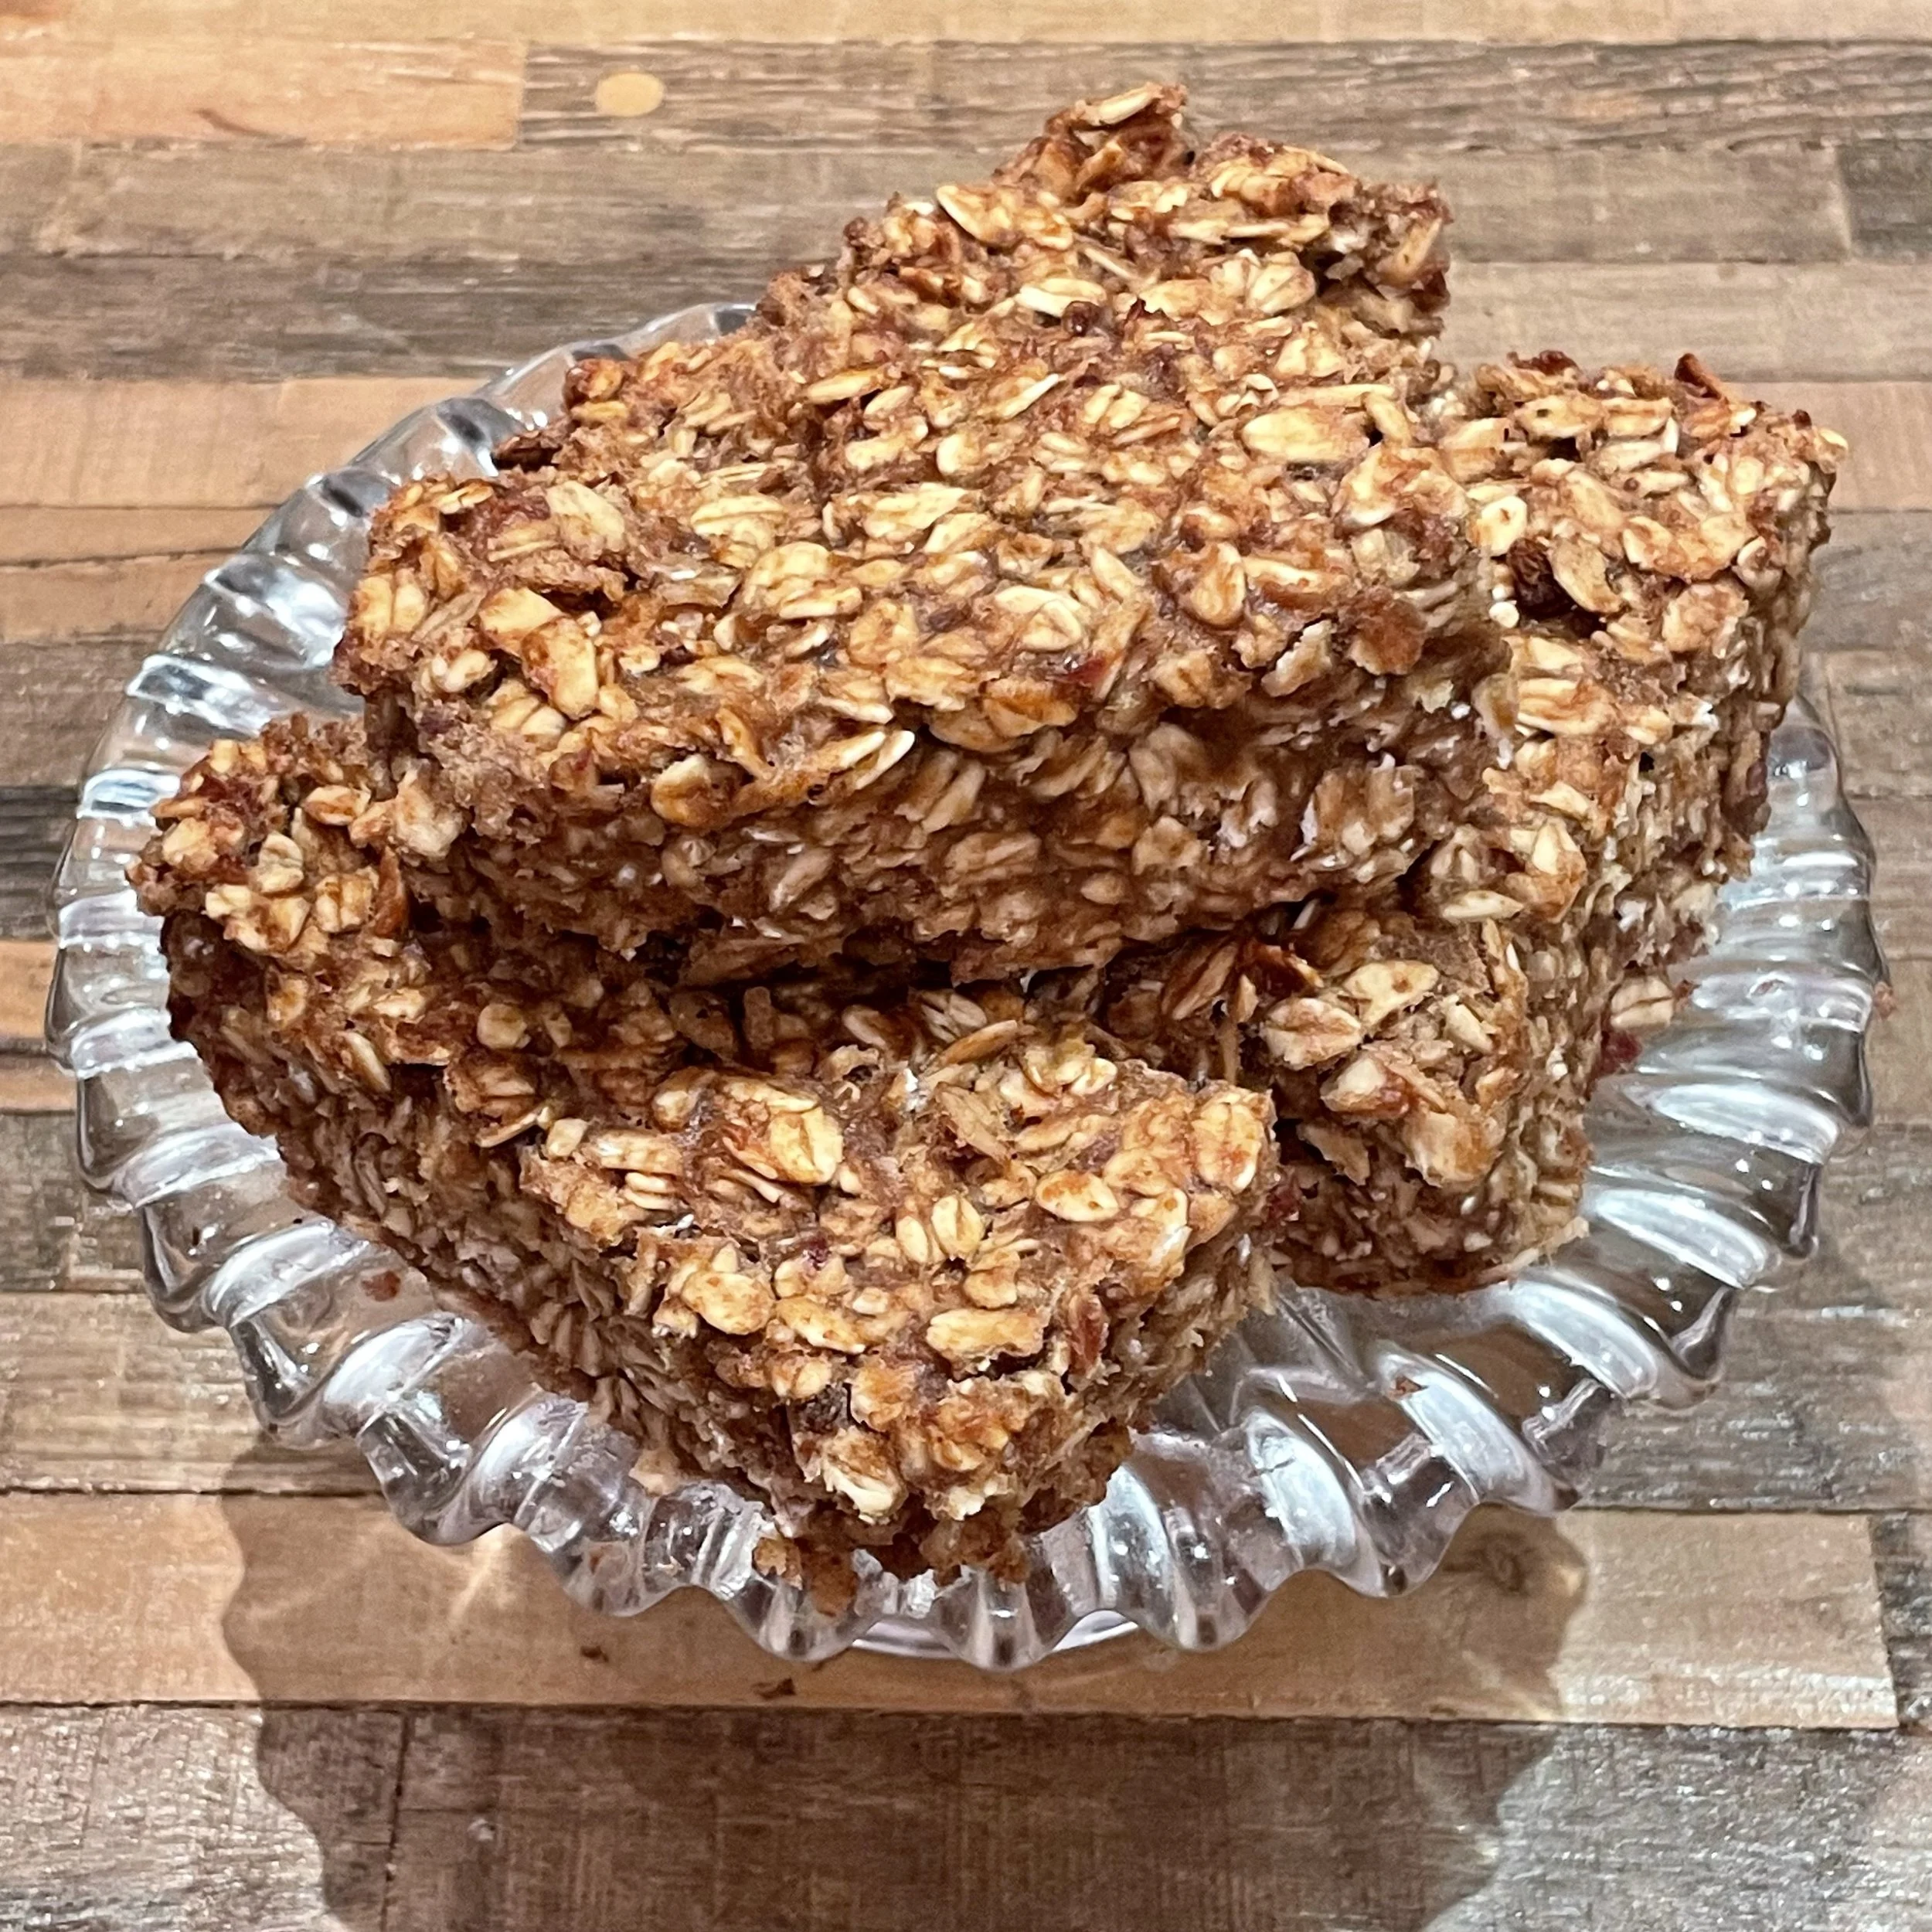
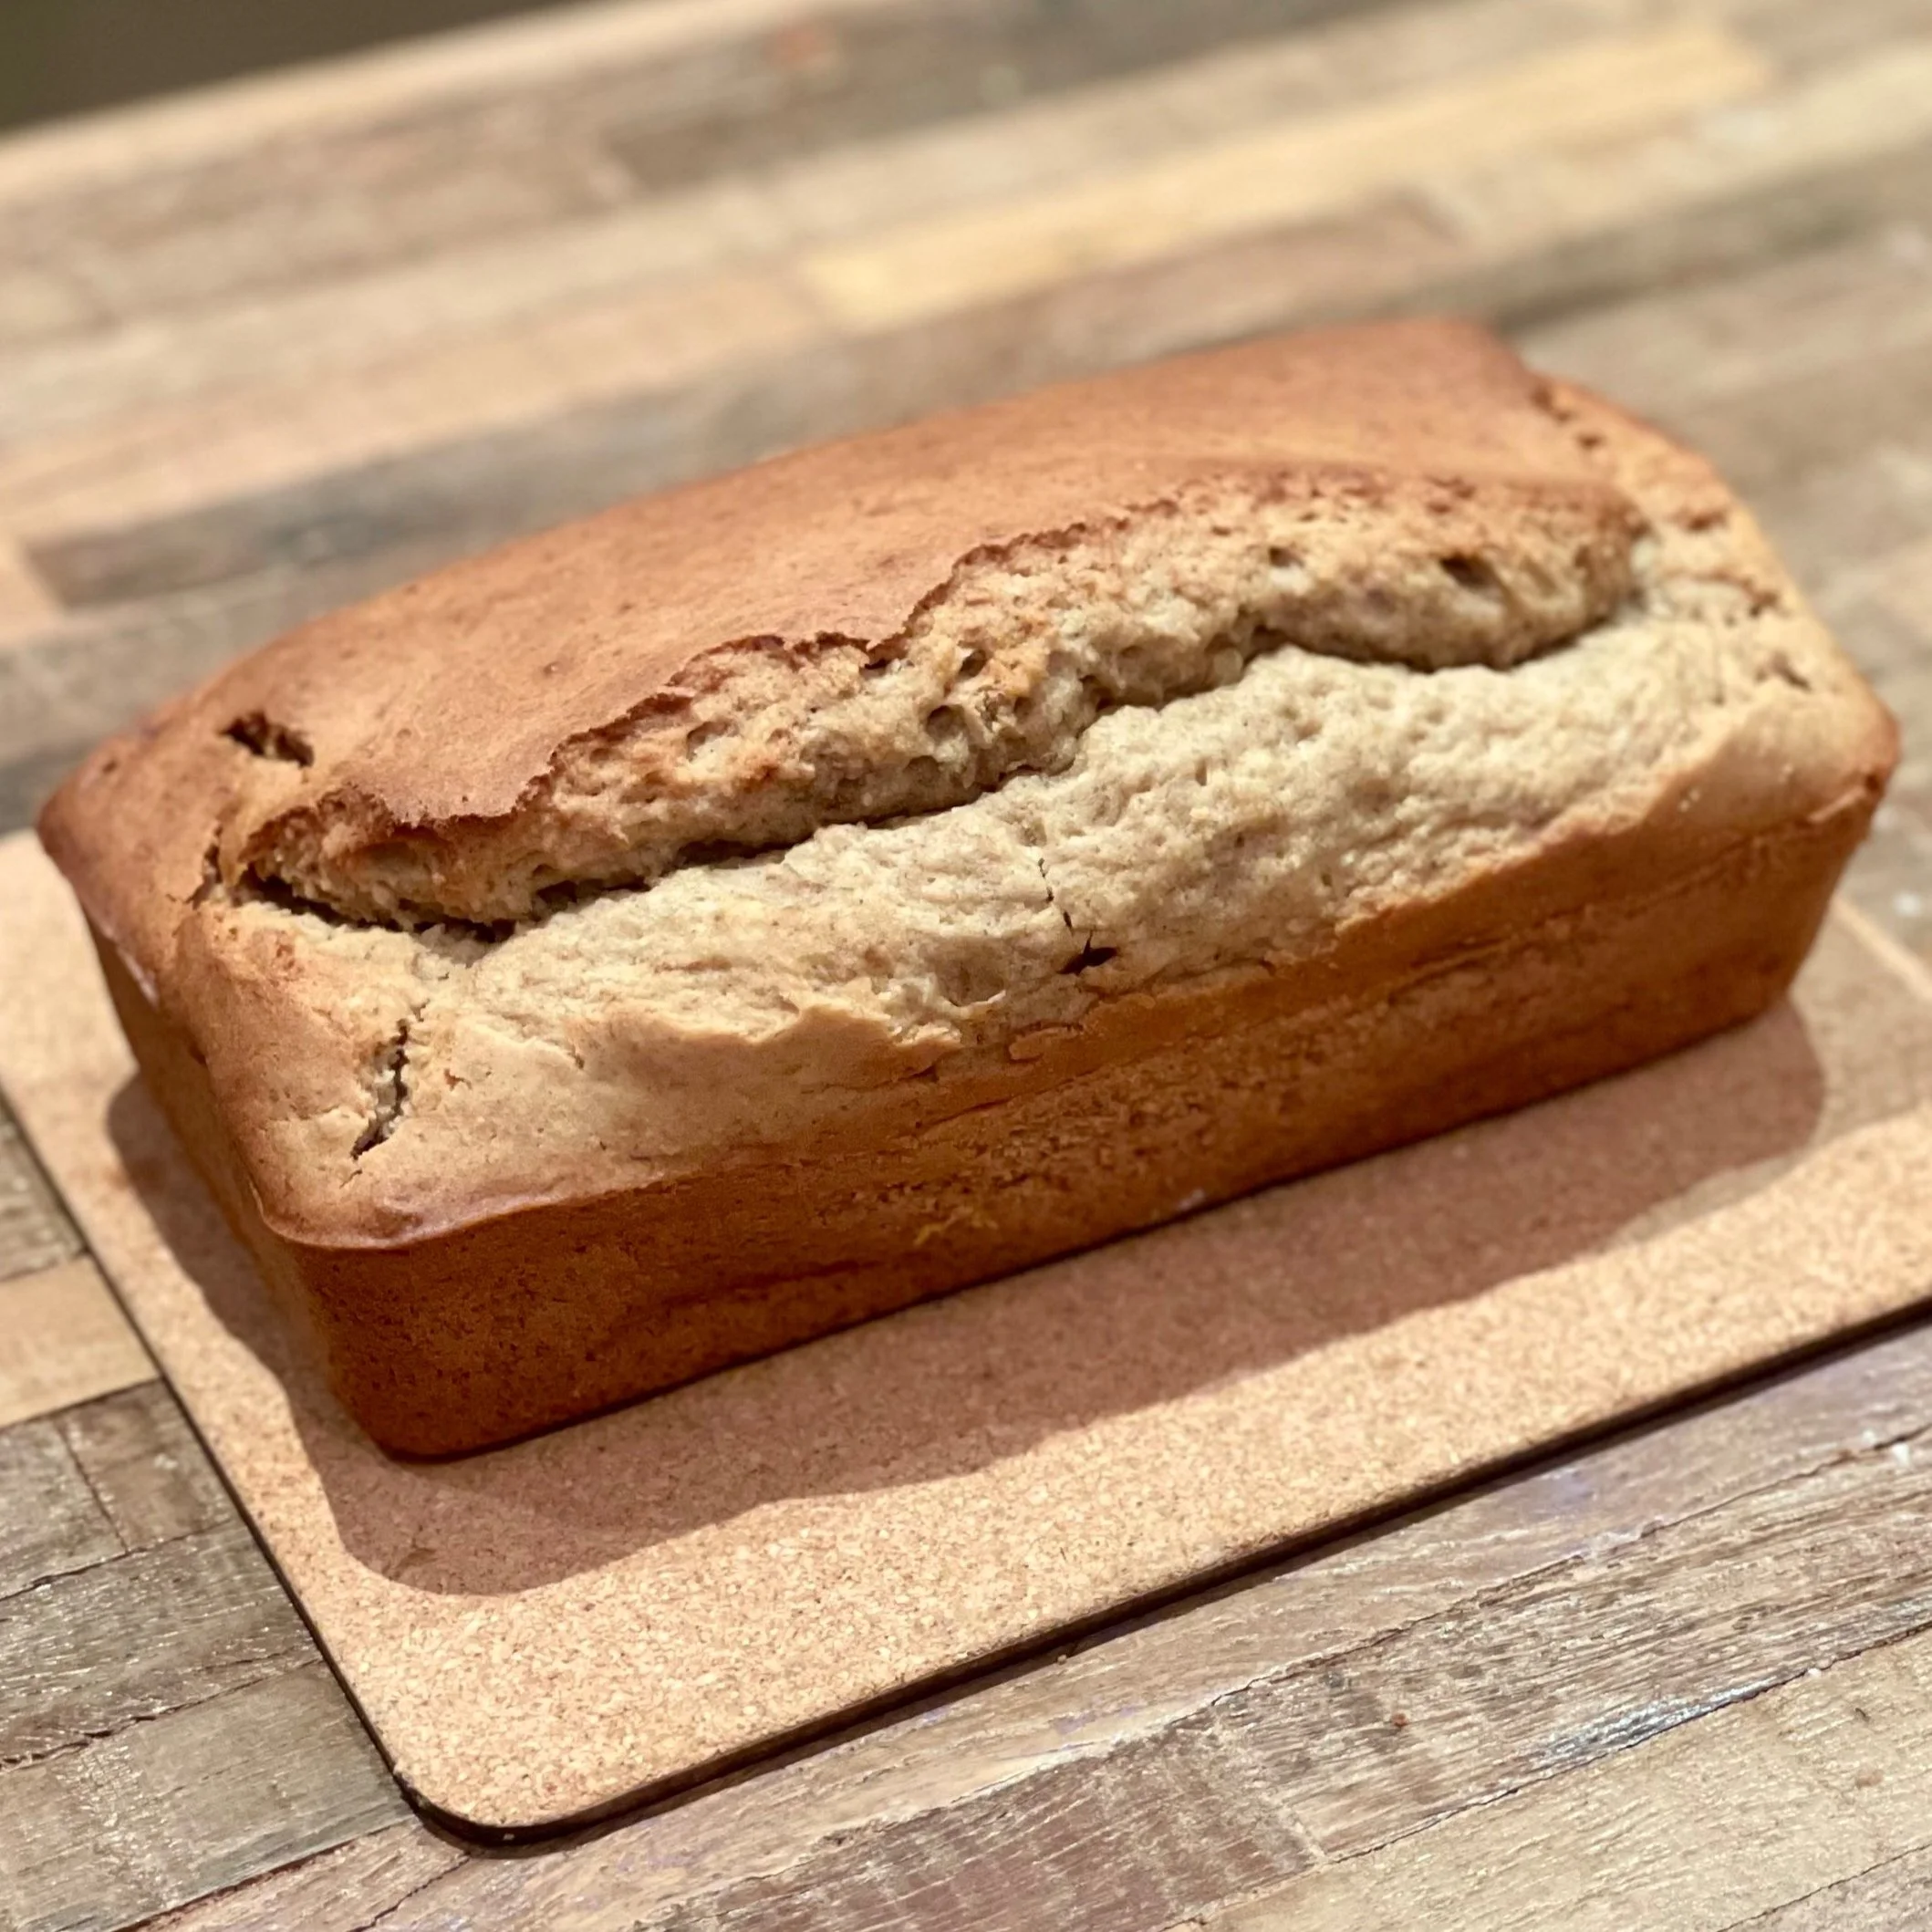
The final product… with a cup of tea and ice cream, of course!
Thank you for reading this, lovely! Happy baking!
Did you like this post? Why not read something similar: